Installing an iron fence around your property can enhance both security and aesthetic appeal. This guide provides homeowners in Cupertino, CA, with a comprehensive overview of the iron fence installation process, covering everything from planning and budgeting to installation and maintenance.
Understand the Benefits of Iron Fencing Before you embark on the installation process, it's essential to understand the advantages of choosing iron fencing. Durability: Iron fences are known for their strength and longevity. They can withstand harsh weather conditions and require minimal maintenance compared to other materials.
- Security: An iron fence acts as a deterrent to intruders, making your property safer.
- Aesthetic Appeal: Iron fences can be customized to suit your home's architectural style, adding elegance and charm to your property.
- Property Value: Installing a quality iron fence can increase your home’s market value, making it a worthwhile investment.
Establish Clear Goals Before starting the installation process, set clear goals for your iron fence project. Consider the following:
- Purpose: Determine if you want the fence for security, privacy, or decorative purposes.
- Design Preferences: Think about the style you want, ornamental, modern, or something unique.
- Height and Length: Decide how tall and how long the fence needs to be to fulfill your needs.
Create a Budget Establishing a budget is critical for any home improvement project, including fence installation. Here are some factors to consider: 1. Material Costs: Iron is typically more expensive than wood or vinyl. Factor in the cost of materials based on your design choices. 2. Labor Costs: Hiring professionals for installation can vary based on complexity and location. Compare quotes from different contractors. 3. Permits and Fees: Check if you need permits for installation in Cupertino, which may add to your costs. 4. Maintenance and Repairs: Consider future maintenance costs, including painting or rust prevention treatments. By setting a budget that accommodates these factors, you can avoid unexpected expenses.
Research Local Regulations Before proceeding, it's essential to familiarize yourself with local regulations regarding fence installation. Cupertino may have specific guidelines regarding:
- Height Restrictions: There may be limits on how tall your fence can be, especially in residential areas.
- Setback Requirements: Understand how far the fence needs to be from the property line.
- Permit Requirements: Determine if permits are needed for installation and apply for them early in the process. Consult the Cupertino city website or local building authority for detailed regulations.
Choose the Right Contractor Selecting a reliable contractor for your project can significantly impact the outcome. Here’s how to choose wisely: 1. Research: Look for contractors specializing in iron fence installation in Cupertino. Check online reviews and ratings. 2. Get Multiple Quotes: Request estimates from at least three different contractors to compare pricing and services. 3. Verify Credentials: Ensure the contractor is licensed, insured, and has experience with iron fencing. 4. Ask for References: Contact previous clients to learn about their experiences with the contractor. 5. Review Contracts Carefully: Before signing, ensure the contract includes all details, including materials, labor, timelines, and payment schedules.
Design Your Iron Fence Once you've selected a contractor, work with them to design your iron fence. Consider the following elements:
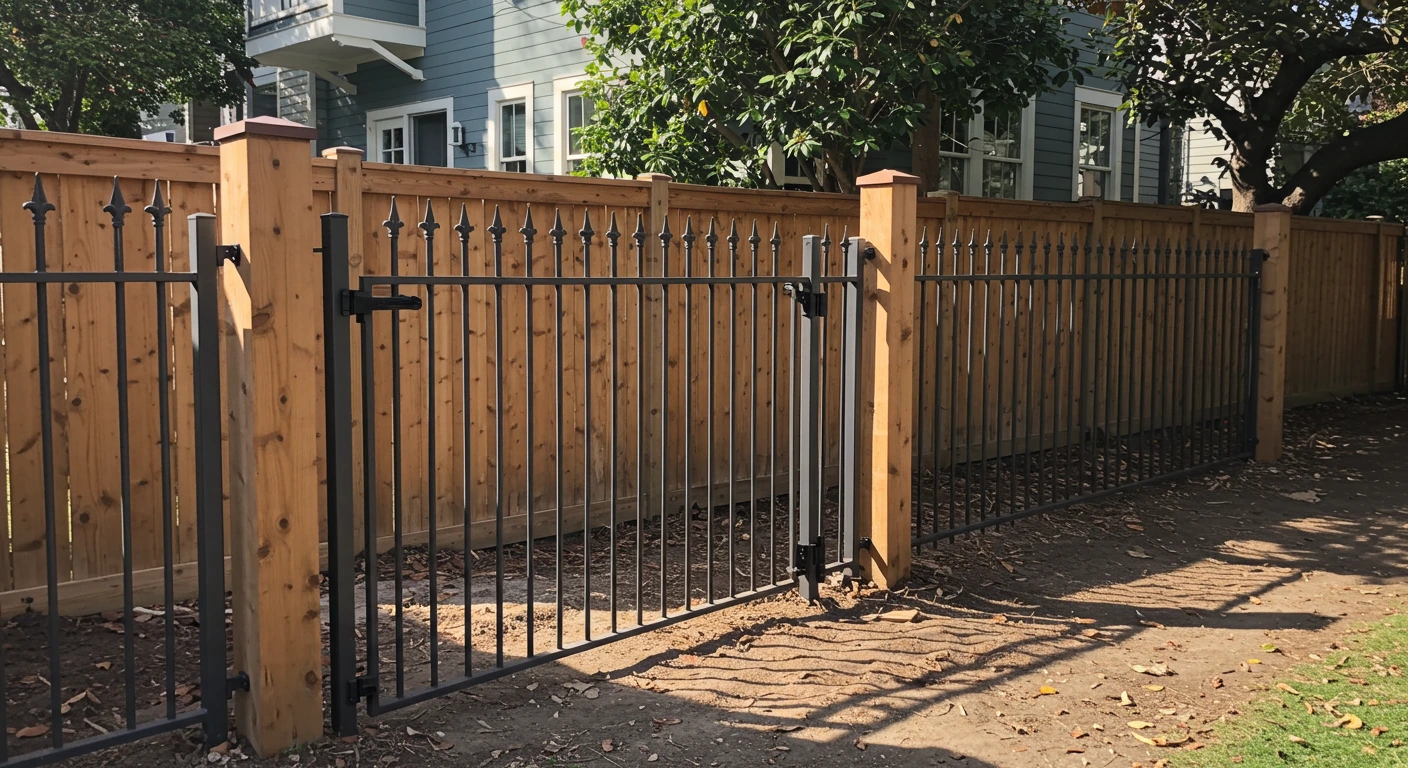
- Style: Choose a style that complements your home and landscape. Options include spear-topped, flat-topped, or decorative designs.
- Color: Decide if you want a natural iron finish or a painted option. Dark colors often provide a classic look.
- Gates: Plan for access points. Determine the type and style of gates that will be included in your design.
Prepare the Installation Site Before installation begins, prepare your property for the new fence:
- Mark Boundaries: Clearly mark your property lines to avoid disputes with neighbors.
- Clear the Area: Remove any obstacles in the installation area, including plants, debris, and old fencing.
- Level the Ground: Ensure the ground is level to facilitate a smooth installation.
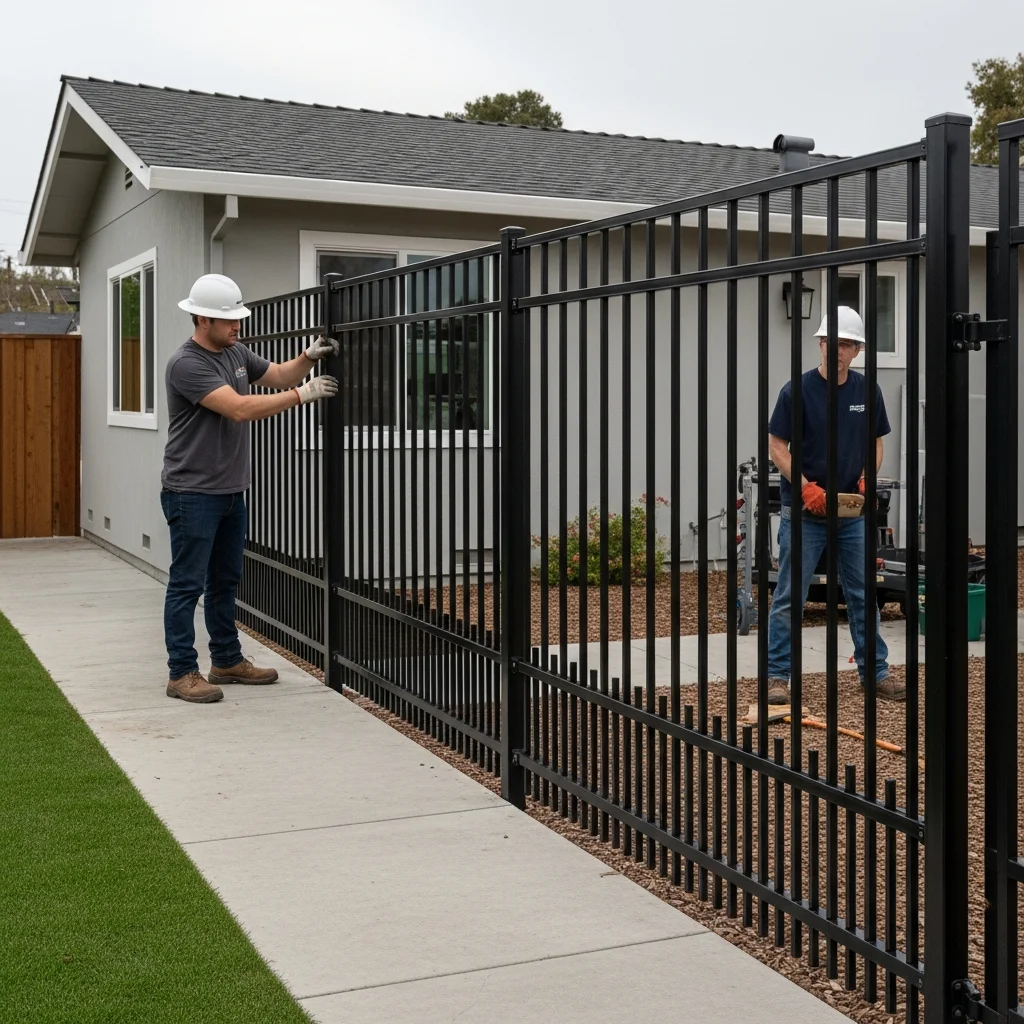
Installation Process The installation process typically follows these steps: 1. Digging Post Holes: Holes are dug for each fence post, typically 2-3 feet deep, depending on the height of the fence. 2. Setting the Posts: Posts are set in concrete for stability. This process may require a few days for the concrete to cure. 3. Attaching Panels: Once the posts are set, the iron panels are attached. Ensure they are securely fixed and aligned properly. 4. Installing Gates: Gates are installed last, ensuring they swing open and close smoothly. 5. Finishing Touches: Any necessary touch-ups or treatments, such as painting or sealing, are applied after installation.
Maintenance Tips for Iron Fences To keep your iron fence looking its best and functioning well, consider these maintenance tips:
- Regular Inspections: Periodically check for rust, loose panels, or other signs of wear.
- Rust Prevention: Apply a rust-inhibiting paint or sealant every few years to protect against corrosion.
- Cleaning: Use a mild detergent and water to clean your fence. Avoid abrasive cleaners that can scratch the surface.
- Touch-Up Paint:If you notice any chips or scratches, promptly touch them up to prevent rusting.
- Professional Help: If you encounter significant damage or need extensive repairs, contact a fencing professional for assistance.
Conclusion Installing an iron fence can enhance the security and beauty of your Cupertino home. With proper planning, budgeting, and the right contractor, you can successfully navigate the installation process. For further information on our services and expert advice, visit our service areas services or contact us for a free consultation. Embrace the elegance and durability of iron fencing and enjoy the benefits for many years to come.